
Not sure if you heard something like this 🙂
- Github is good but I want my own private repo.
- Well I know you have DevCS, but I want something I can have full control…
Today, I’m going to talk about Bring Your Own Git – I’m going to use GitLab CE as my example.
Assumption / Prerequisite:
- we have a BMCS subscription
- we already created a Linux VM or BM, have the VCN and Internet Gateway setup
Steps
- The first step is to get the GitLab CE, we can navigate to Oracle Cloud Marketplace
https://cloudmarketplace.oracle.com/marketplace/en_US/listing/16076589
for details
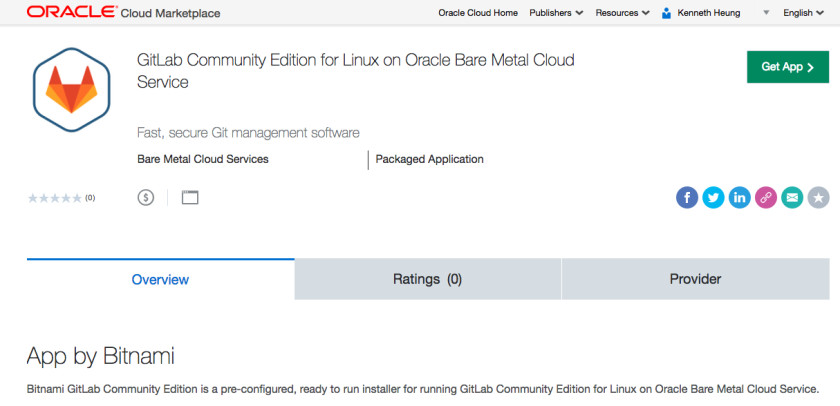
- Just click the [Get App>] button and follow the instructions. It will guide us how to download and install GitLab CE for Oracle BMCS.
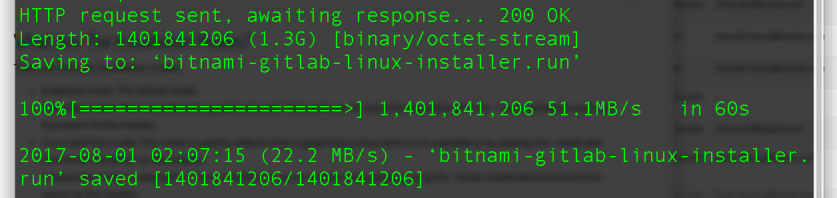
- Actually, what we need is to ssh to the VM/BM to download and install GitLab. In the VM/BM, use wget to download GitLab
  wget -O gitlab-linux-installer.run \
    https://bitnami.com/stack/gitlab/download_latest/linux-x64

- The download will take a while, wait for the download to complete
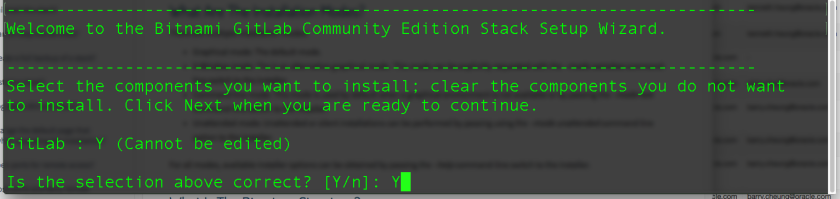
- Change the file permission so that we can run the installer. Then, we can run the installer. If we want to have GitLab running on privileged port, i.e. 80/443, we will need to run the installer as root (or sudo).

- The installer will ask us to confirm the installation. Simply answer Y and press enter.
- Next, the install will ask us to setup the super admin account password for GitLab. Enter the desired password and press enter. Of course, we will need to enter the desired password the second time as confirmation. After that, we will be prompted to continue again – answer Y and press enter at this point.
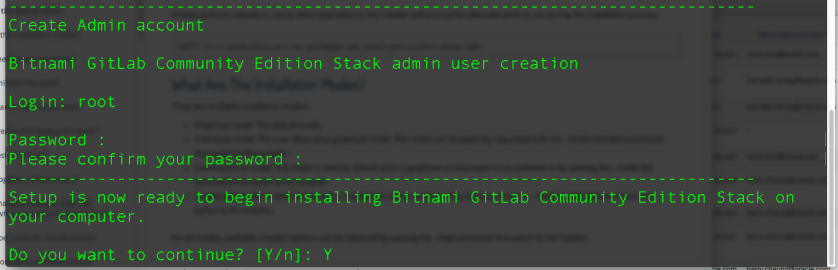
- Installation will take a while. Just wait for the completion.

- Once we see installation complete, we are ready to rock and roll.

How to start / stop the GitLab stack?
To start GitLab, use the command
[oracle@kmean ~]$ sudo /opt/bitnami/ctlscript.sh start
To stop GitLab, use the command
[oracle@kmean ~]$ sudo /opt/bitnami/ctlscript.sh stop
To check the status, use the command
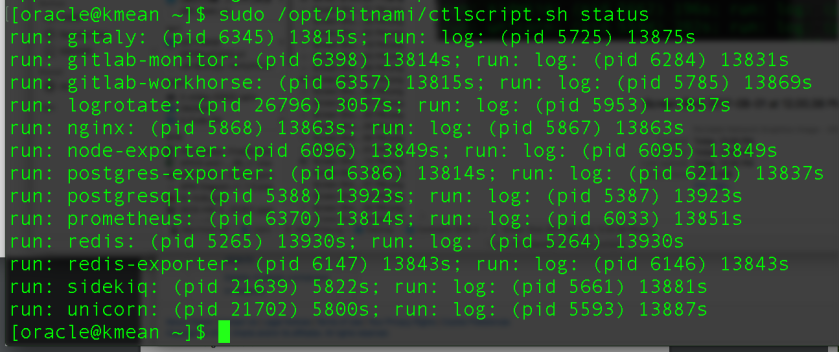
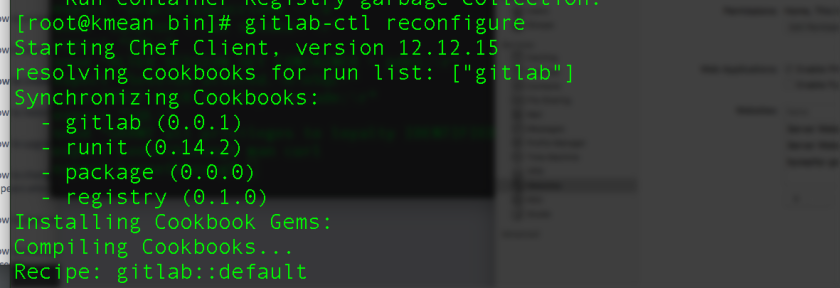
How to configure / re-configure GitLab?
We will need to edit the config file(s) – we will cover this topic later. BTW, you probably NEED to do reconfigure BEFORE the first run 🙂 just use the command
[root@kmean ~]# gitlab-ctl reconfigure
or sudo gitlab-ctl reconfigure command if you are not running as root user.
again, reconfigure might take a while
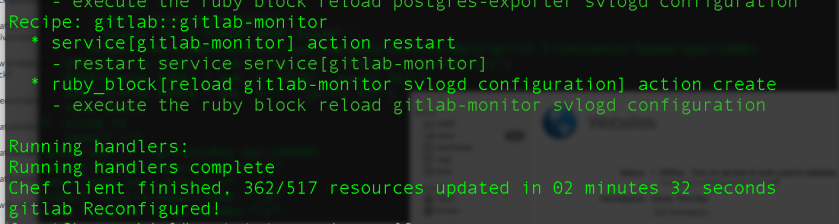
also, the first time to do reconfigure, we will need to set the GitLab root password again.
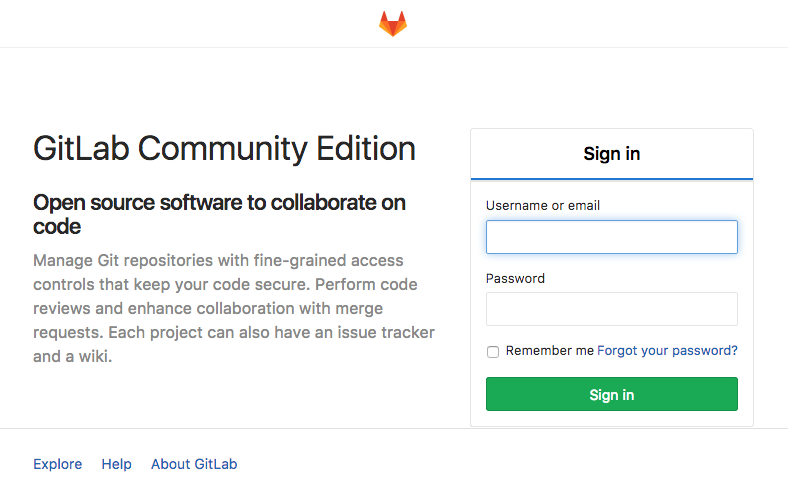
How to access my new Git?
It is simple, just use the browse to navigate to the host. I’ll recommend you use SSL port 🙂 https://{your-vm-bm-ip-fqdn}/
I will cover more about custom configurations, custom SSL/TLS cert, GitLab integration, DevOps in BMCS later 🙂 please stay tuned.
